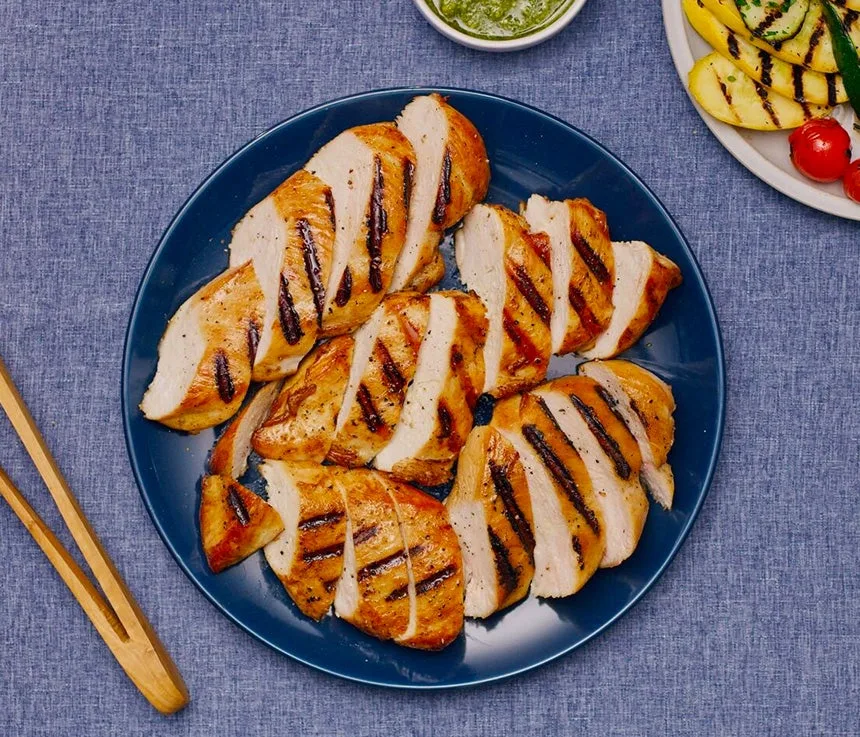









Grilled Brined Chicken Breasts
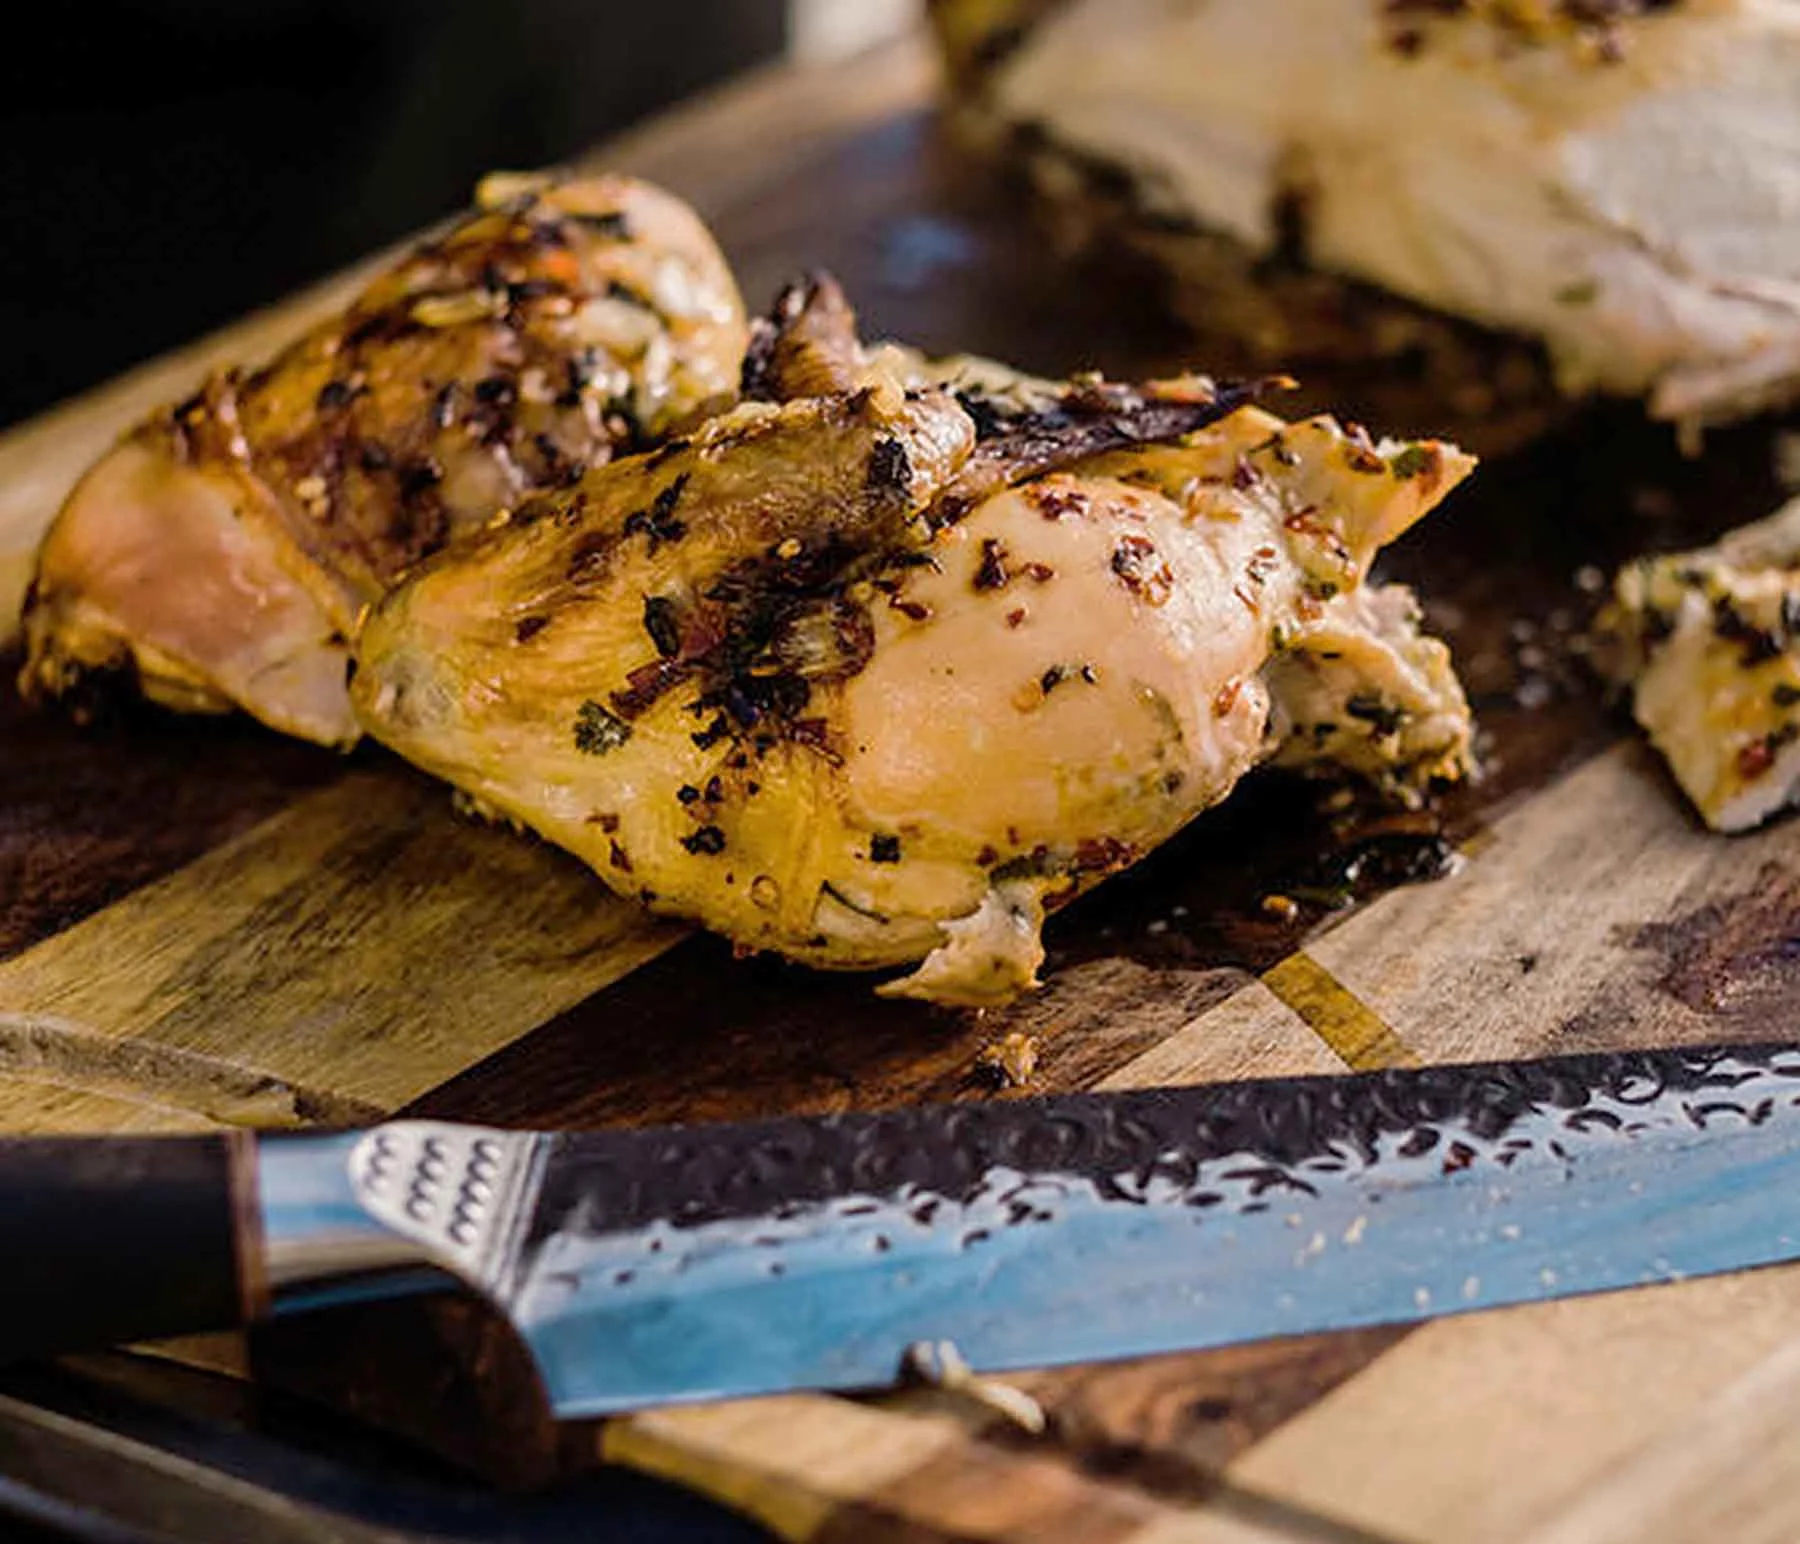
Learn how to make juicy, flavorful grilled chicken breasts with this easy BBQ brine and rub recipe. Perfect for boneless, skinless chicken, this simple method keeps chicken tender on the grill and delivers delicious results with minimal effort.

Ingredients
- 6
boneless, skinless chicken breasts (6 ounces)
- 2 tbsp.
olive oil
- 1 tbsp.
herbes de Provence or 3/4 teaspoon each dried basil, oregano, thyme, rosemary, divided
-
olive oil for brushing grill
Brine
- 1 cup
dry white wine such as Sauvignon Blanc
- 1 tsp.
whole black peppercorns
- 2
bay leaves
- 3 cup
ice water
- 2 tbsp.
herbes de Provence or 1½ teaspoons each dried basil, oregano, thyme, rosemary, divided
- 1/4 cup
plain table salt
- 1/4 cup
sugar
Equipment
-
charcoal grill
-
chimney starter
-
long-handled tongs
-
cutting board
-
sharp knife
-
large bowl
-
paper towels
-
aluminum foil
1Food Prep
- Excess moisture: Pat the chicken breasts dry with paper towels before seasoning — removing surface moisture helps them brown better, reduces steaming, and improves overall texture during cooking.
- Combine brine ingredients: Start by stirring your brine ingredients together in a nonreactive bowl until the salt and sugar dissolve.
- Trim: Before cooking, trim your chicken breasts by removing the tenderloin, excess fat, and uneven edges to improve texture, ensure even cooking, and create a cleaner, more consistent cut.
- Marinate: Add in your chicken and refrigerate for 4 hours, no longer.
2Grill Prep
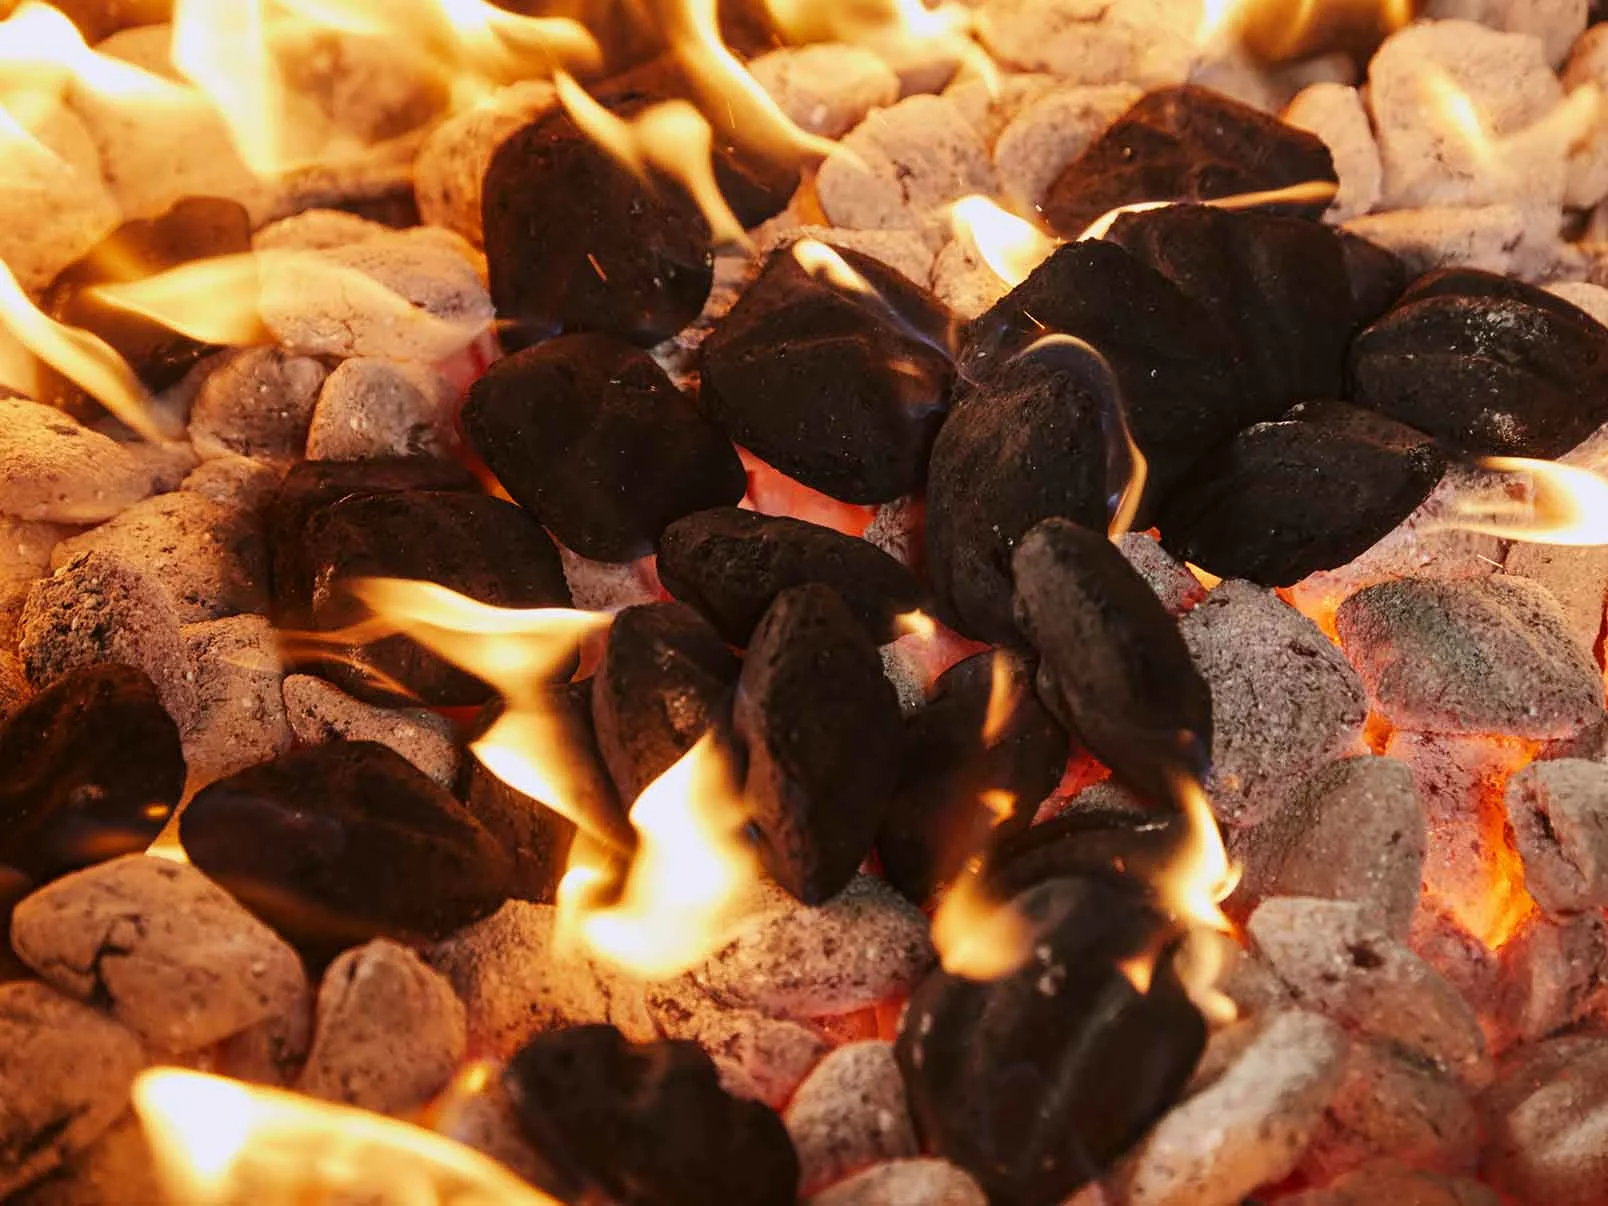
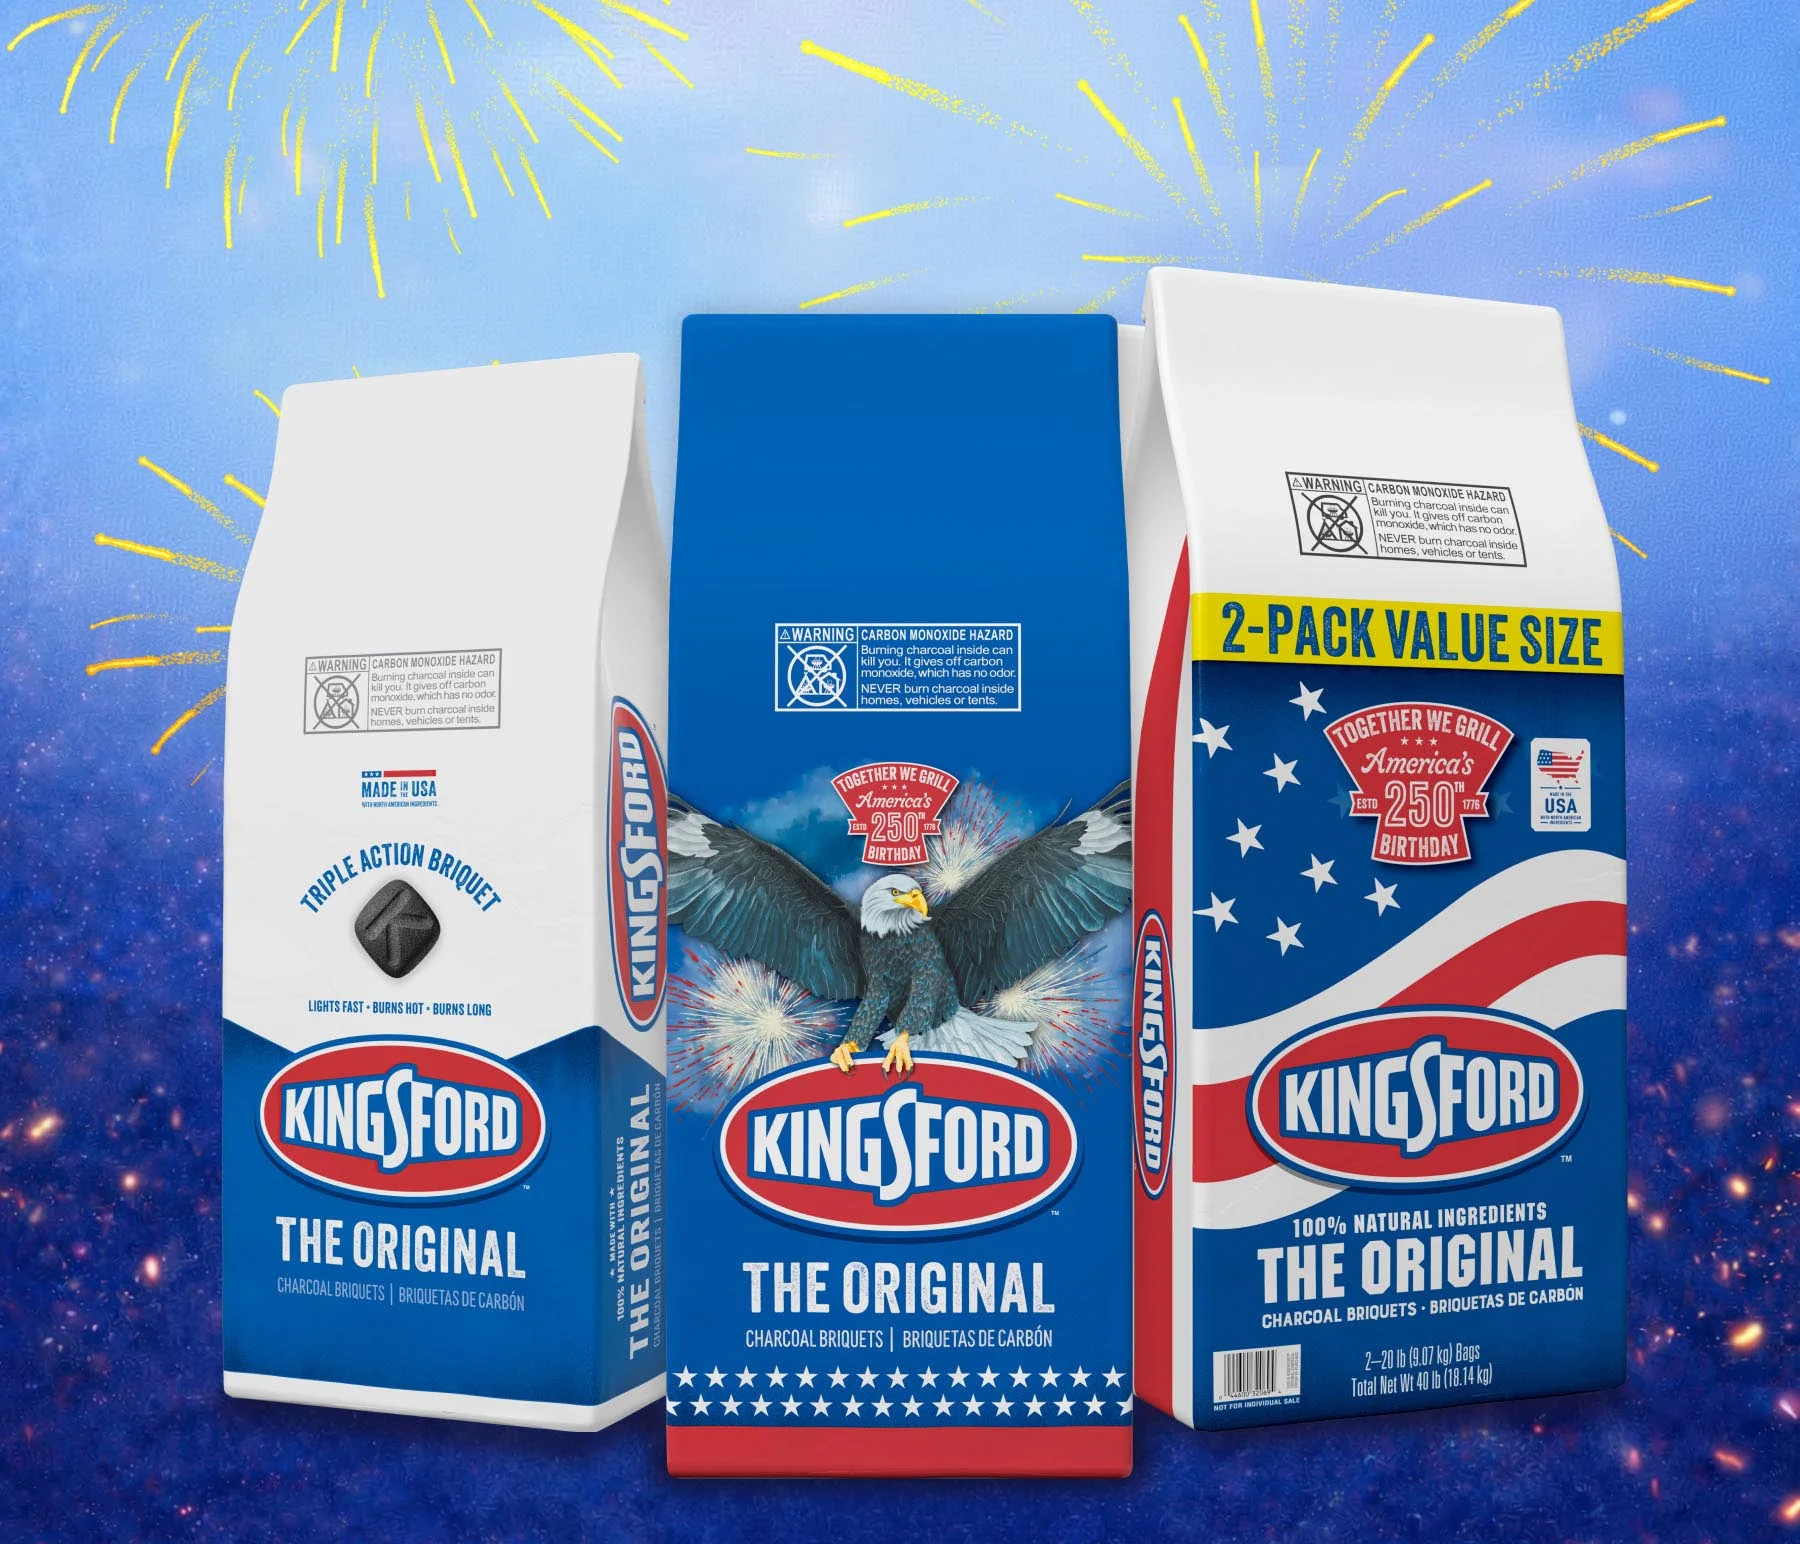
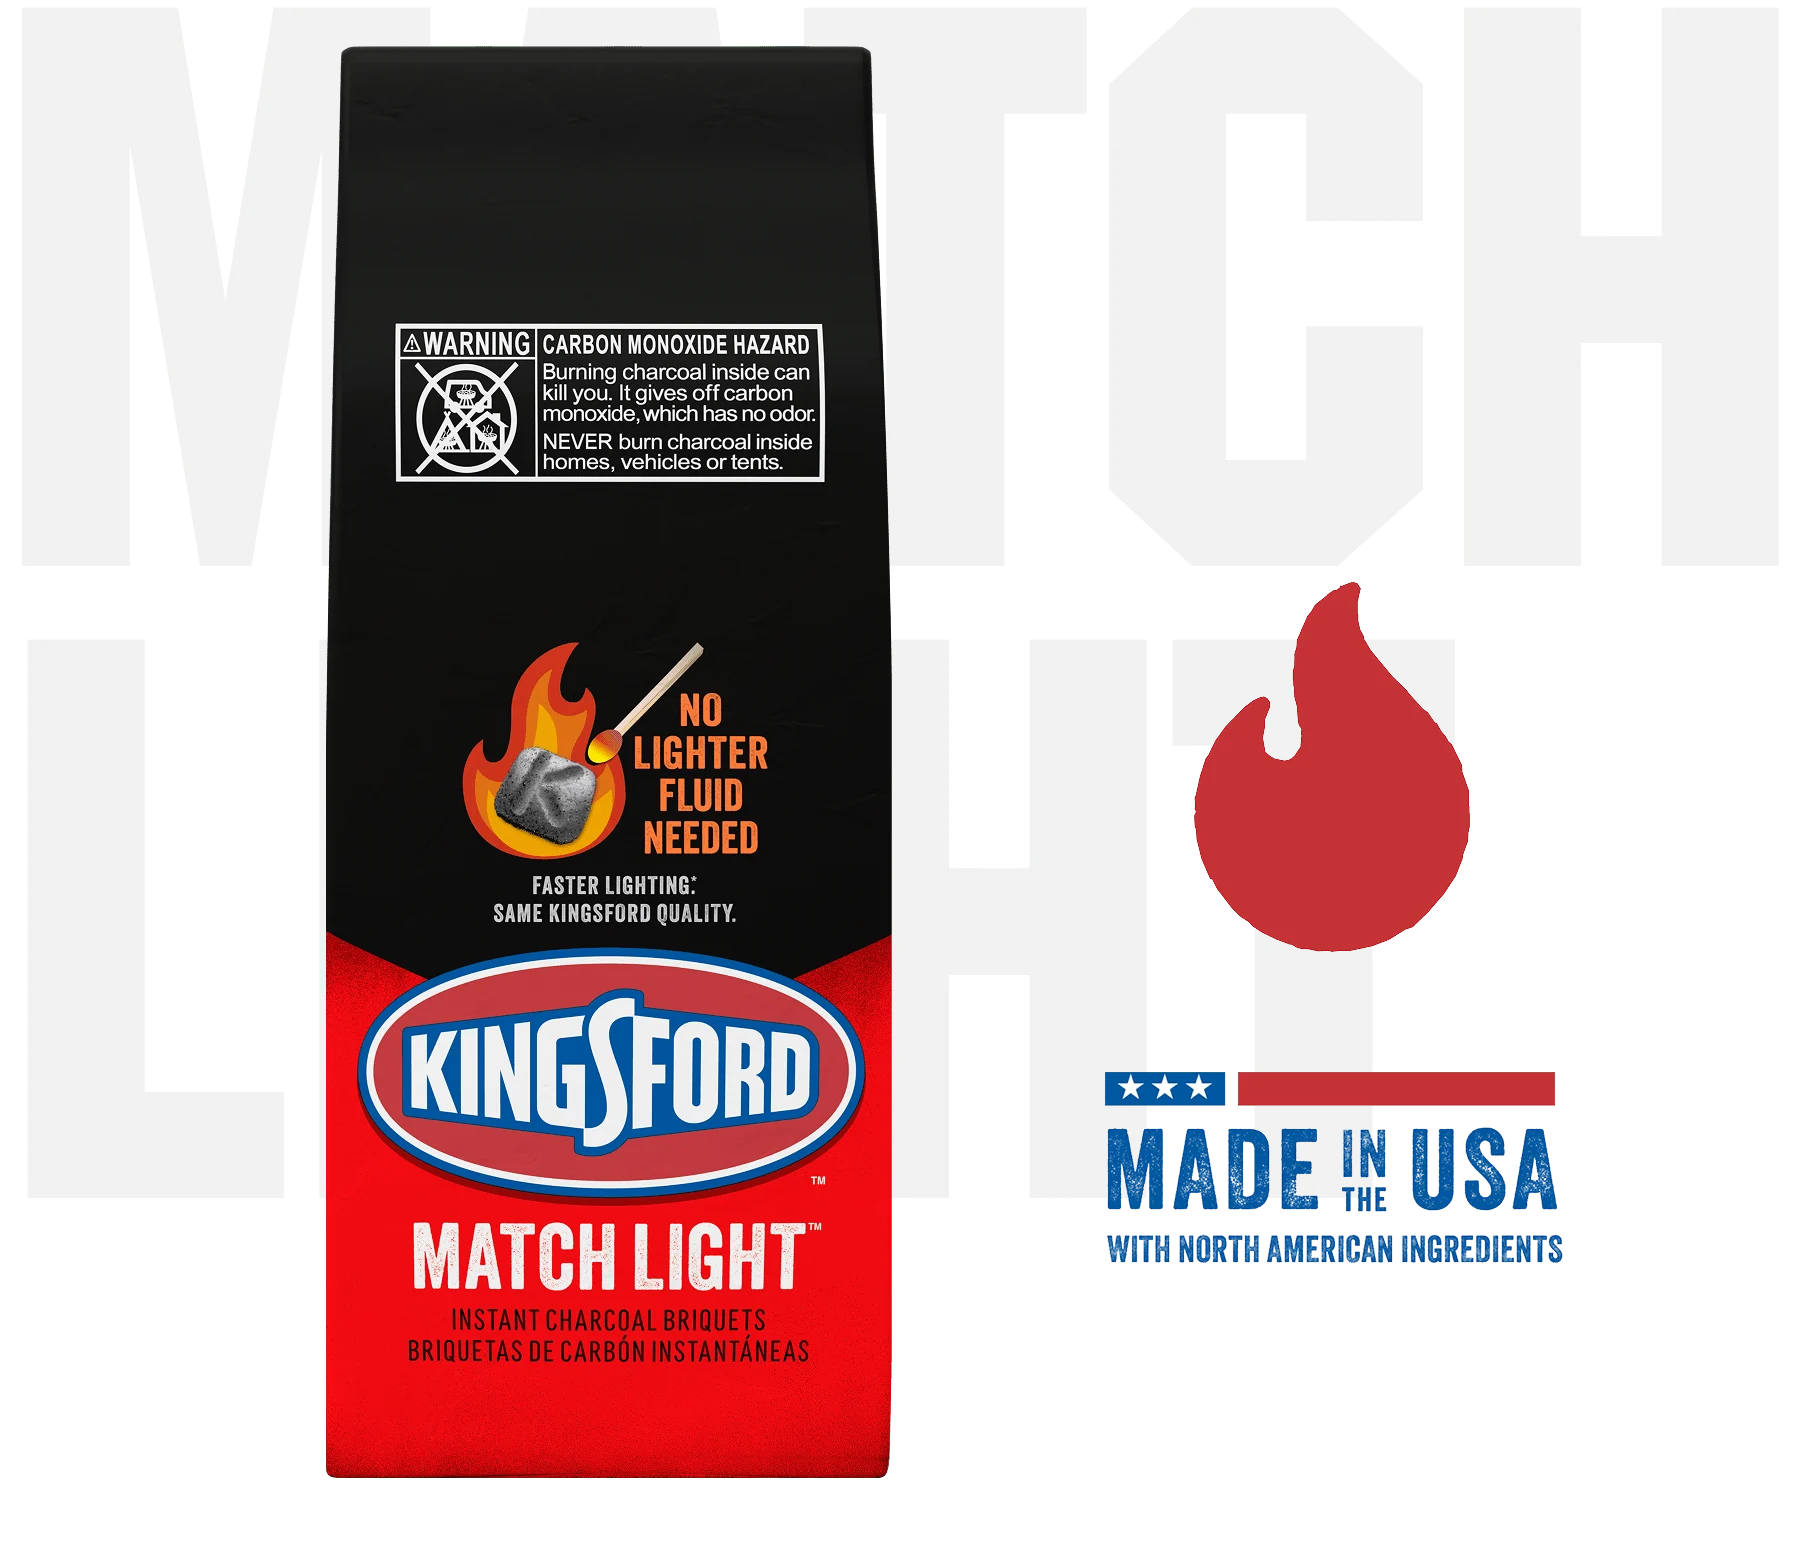
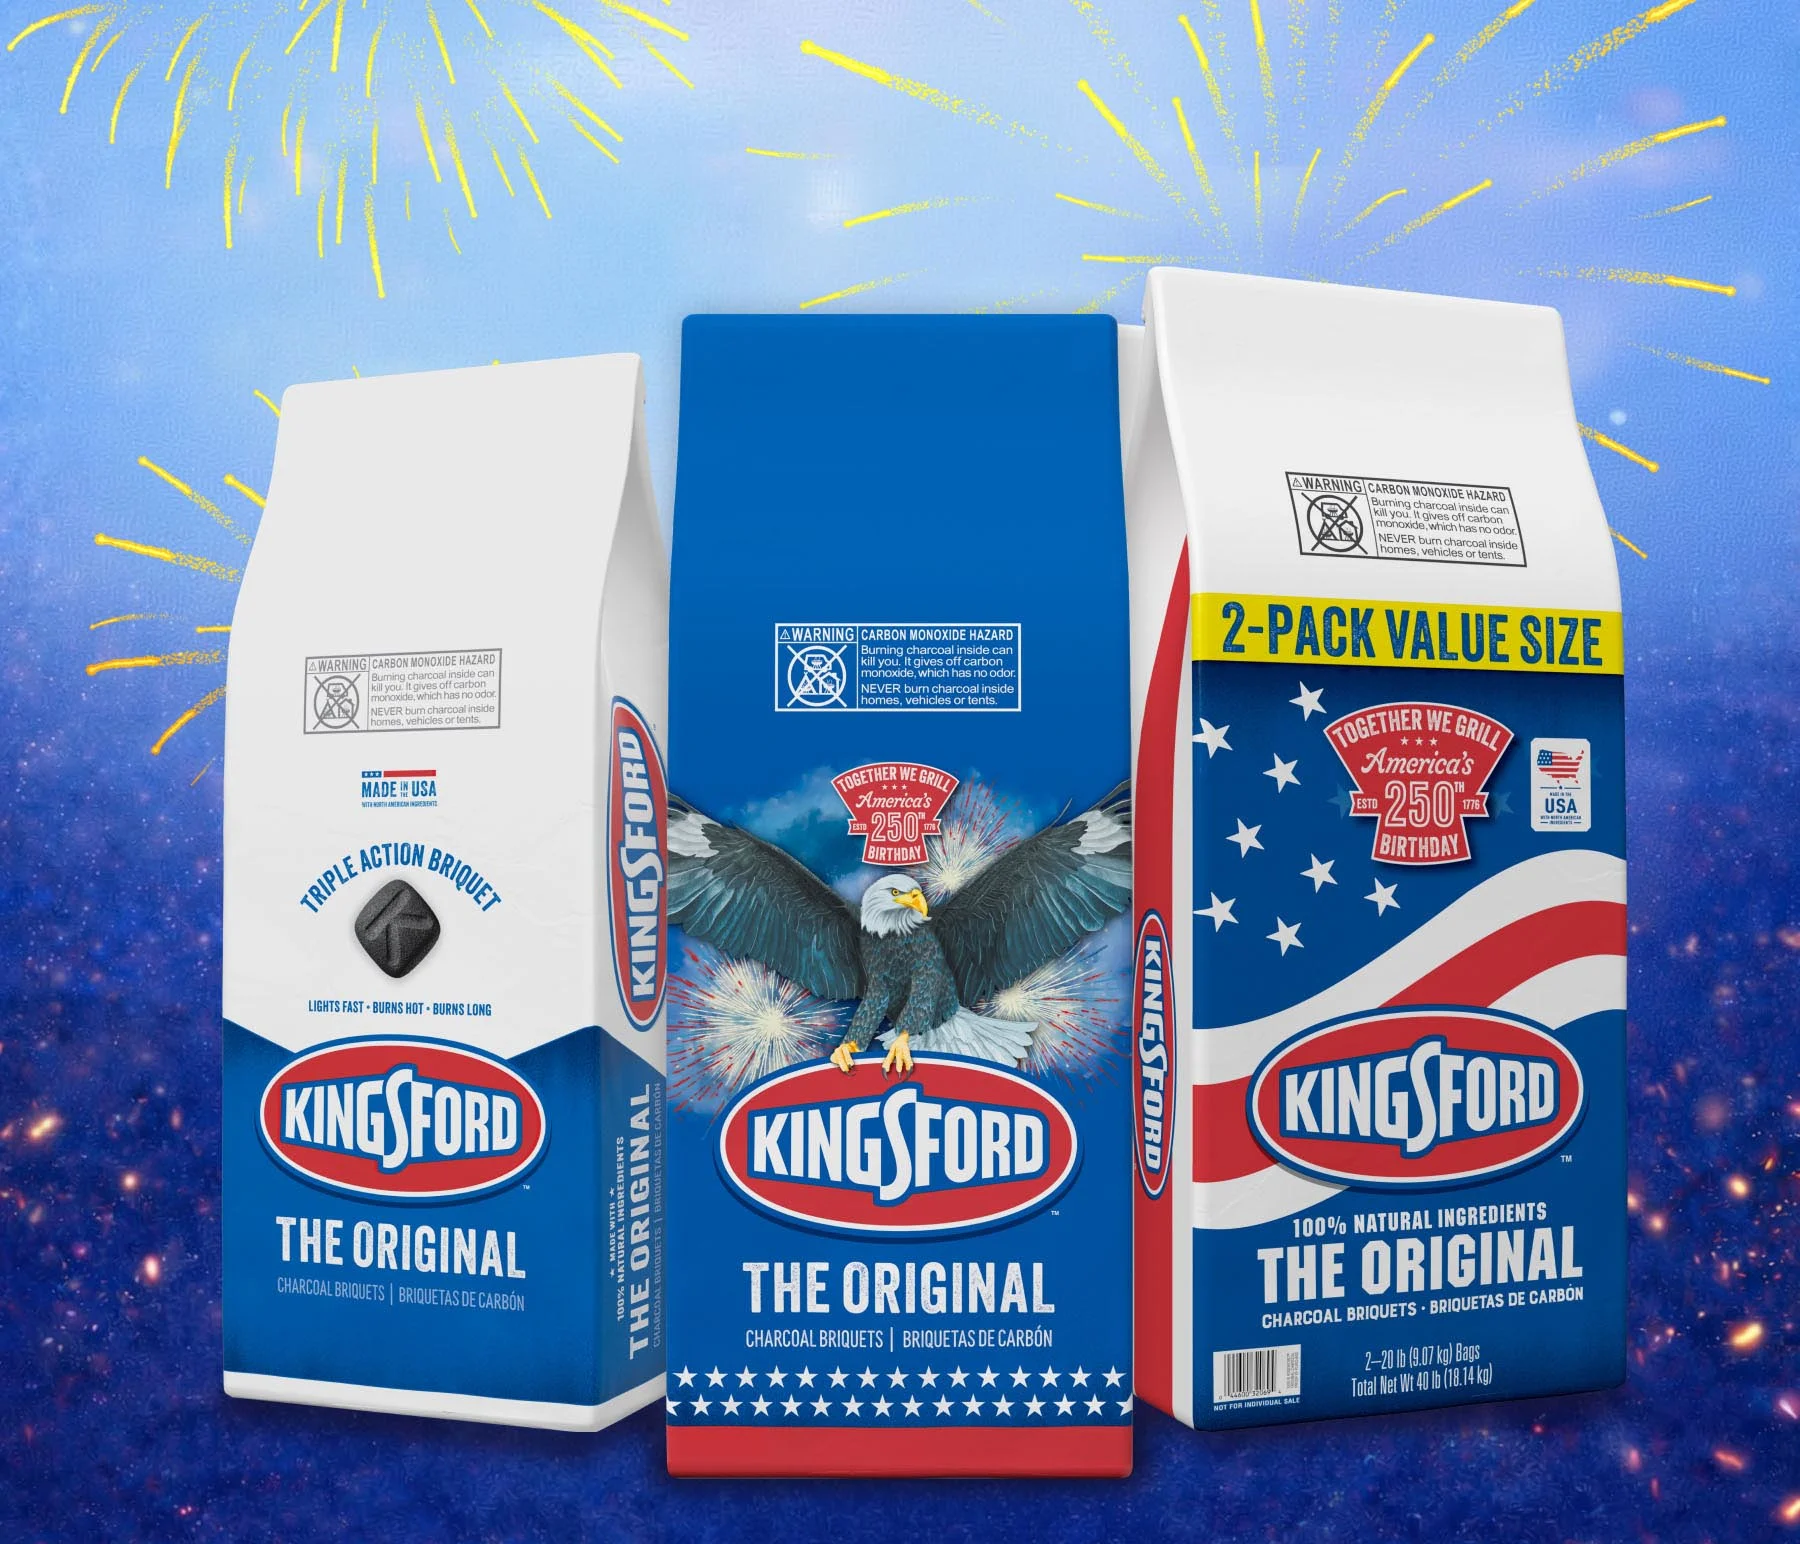
Fuel: We recommend Kingsford™ Original Charcoal Briquets
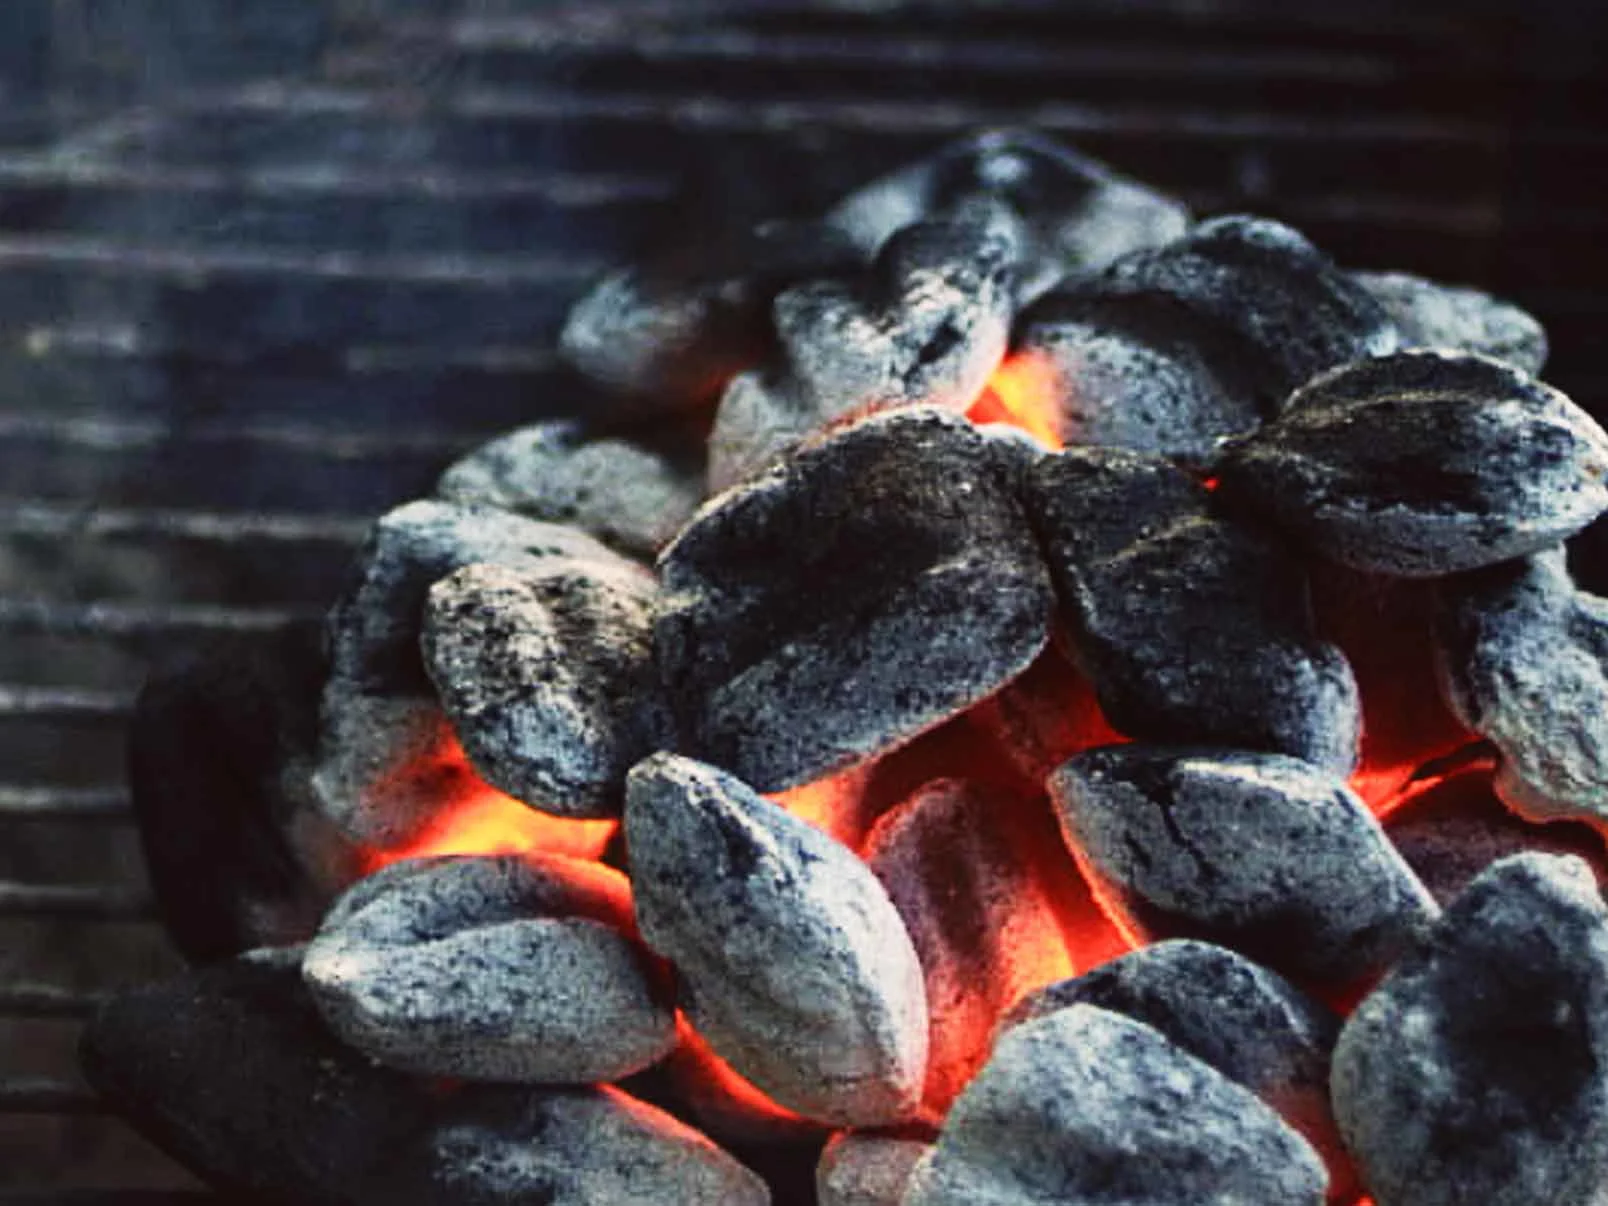
Method: Two-Zone Method
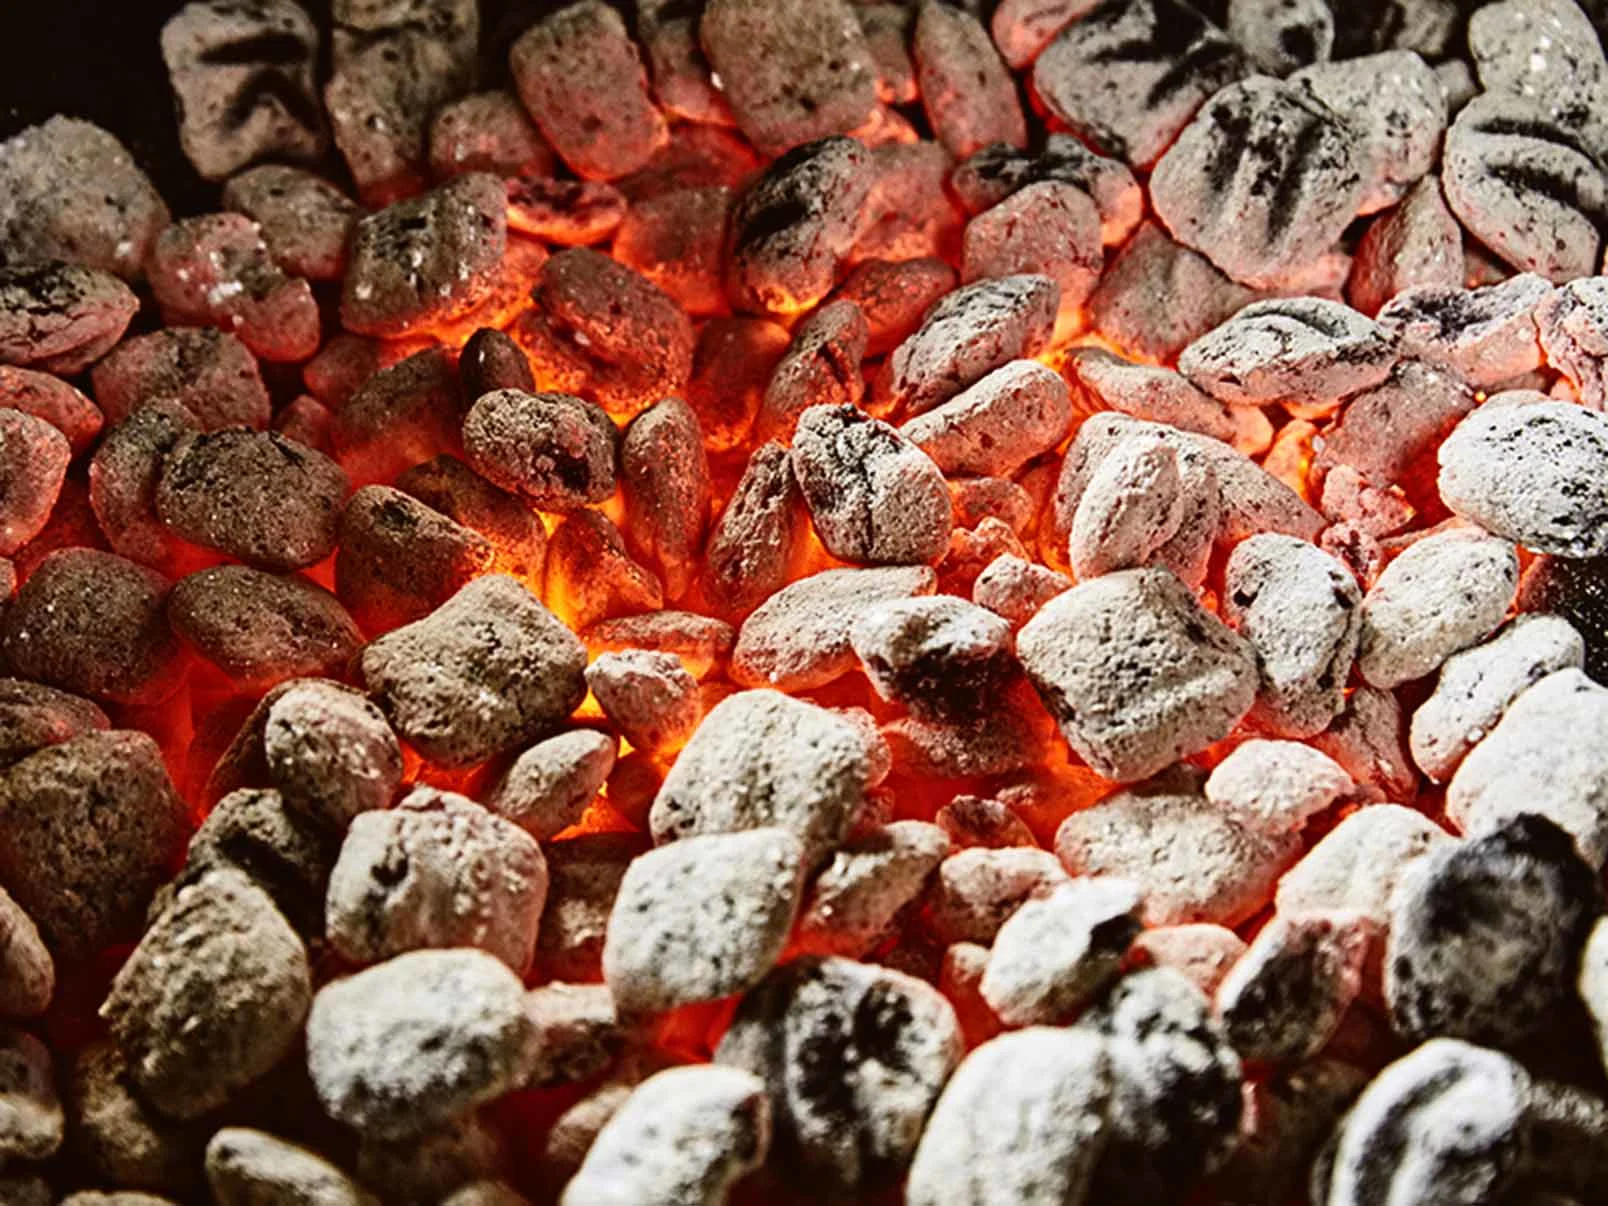
Temp: 350°F (Medium Heat)
3The Cook
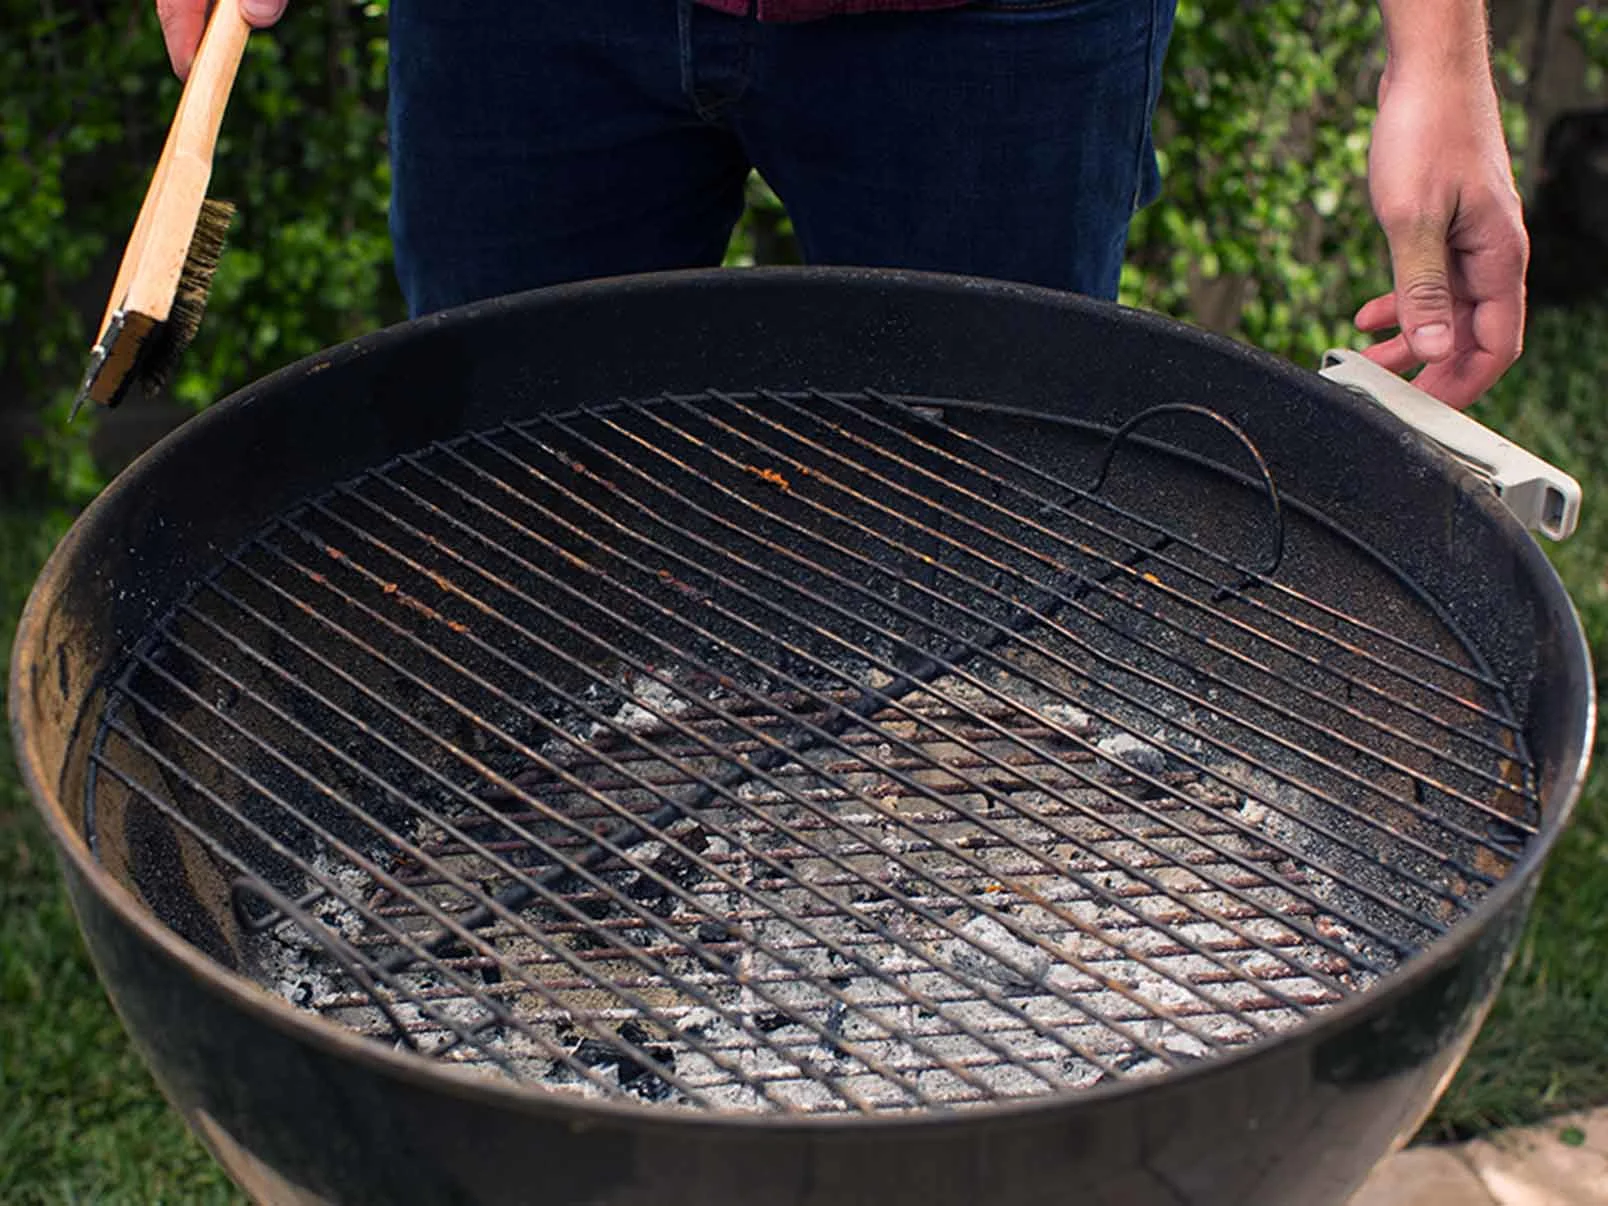
When you’re at temp, put cooking oil on a folded paper towel. Grab the oiled paper towel with long-handled tongs and lightly oil the grate thoroughly.
Remove your chicken from the brine and pat it dry with paper towels. Then brush your chicken breasts with oil. Mix 1 tbsp. herbes de Provence and ground pepper and rub onto your chicken.
Place your chicken on the hotter area of the grate and cover your grill.
Cook your chicken until the undersides are seared with grill marks, about 3 minutes. Then, turn and sear the other sides for about 3 minutes more.
When your chicken is seared, move it to the cooler side of the grate and cover your grill. Continue cooking your chicken until it reaches an internal temperature of 165°F.
Let it rest for 5 minutes to allow the juices to move through your chicken, then serve.
Rest & Slice
Cover loosely with foil and rest for 5 minutes.
Slice the chicken breasts across the grain for tender, evenly textured pieces.
Pro Tips
Pat dry after brining: Removing excess moisture helps the chicken brown properly and prevents flare-ups.
Oil lightly before seasoning: A thin coat of oil helps seasoning adhere and promotes better grill marks.
Temp matters: An instant-read probe ensures perfect doneness every time.
Allowing meat to rest: Rest 10–15 minutes before slicing to keep juices inside rather than running onto the cutting board.
Avoid over-flipping: Sear one side fully before turning to build better color and prevent sticking.
What to serve brined chicken with
Sides
- Roasted vegetables
- Herb rice or quinoa
Fresh options
- Mixed greens with vinaigrette
- Cucumber-tomato salad
Carbs
- Lemon garlic orzo
- Grilled flatbread
Sauces
- Lemon herb sauce or chimichurri
- Creamy garlic or yogurt sauce
Drinks
- Sparkling citrus water
- Iced green tea
How to store and reheat brined chicken
How to store: Within 2 hours, allow the chicken to cool completely, then store it in an airtight container or Glad food storage bag in the refrigerator for up to 4 days. For longer storage, freeze the cooked chicken in a freezer-safe container or bag for up to 3 months. Thaw frozen chicken overnight in the refrigerator before reheating. Reheat all leftovers thoroughly to a temperature of 165°F.
How to reheat: Reheat chicken gently to help retain its moisture. Warm it in a 350°F oven for 10–15 minutes, covered with foil, until it reaches an internal temperature of 165°F. You can also reheat individual portions in the microwave in 30-second intervals, covering the chicken with a damp paper towel to help keep it juicy until it reaches an internal temperature of 165°F.
Rick Rogers
For safe meat preparation, reference the USDA website.
Recipes containing alcohol are intended for those 21 years of age and older only. Please drink responsibly.
FAQs
Brine is a mixture of water and salt, often combined with herbs, spices, or sugar, that's used to flavor and moisten chicken before cooking. To brine chicken means soaking it in this solution so the meat absorbs moisture and seasoning, helping it stay tender and juicy during cooking. Brining is a simple technique that can improve both the flavor and texture of chicken.
Brining helps chicken retain moisture and absorb flavor, resulting in juicier, more tender meat after cooking. It's especially beneficial for chicken breasts, which are lean and more likely to dry out than darker cuts. Even a quick brine before baking, grilling, or roasting can make a noticeable difference in the texture and flavor of your chicken.
Boneless chicken breasts typically need 30 minutes to 4 hours in a simple brine. A shorter brine adds moisture and flavor without affecting the texture, while brining for too long can make the chicken overly salty or soft. After brining, pat the chicken dry before seasoning and cooking.
Enable cookies to see recommended recipes


Sign up for our socials!







KINGSFORD™ CHARCOAL
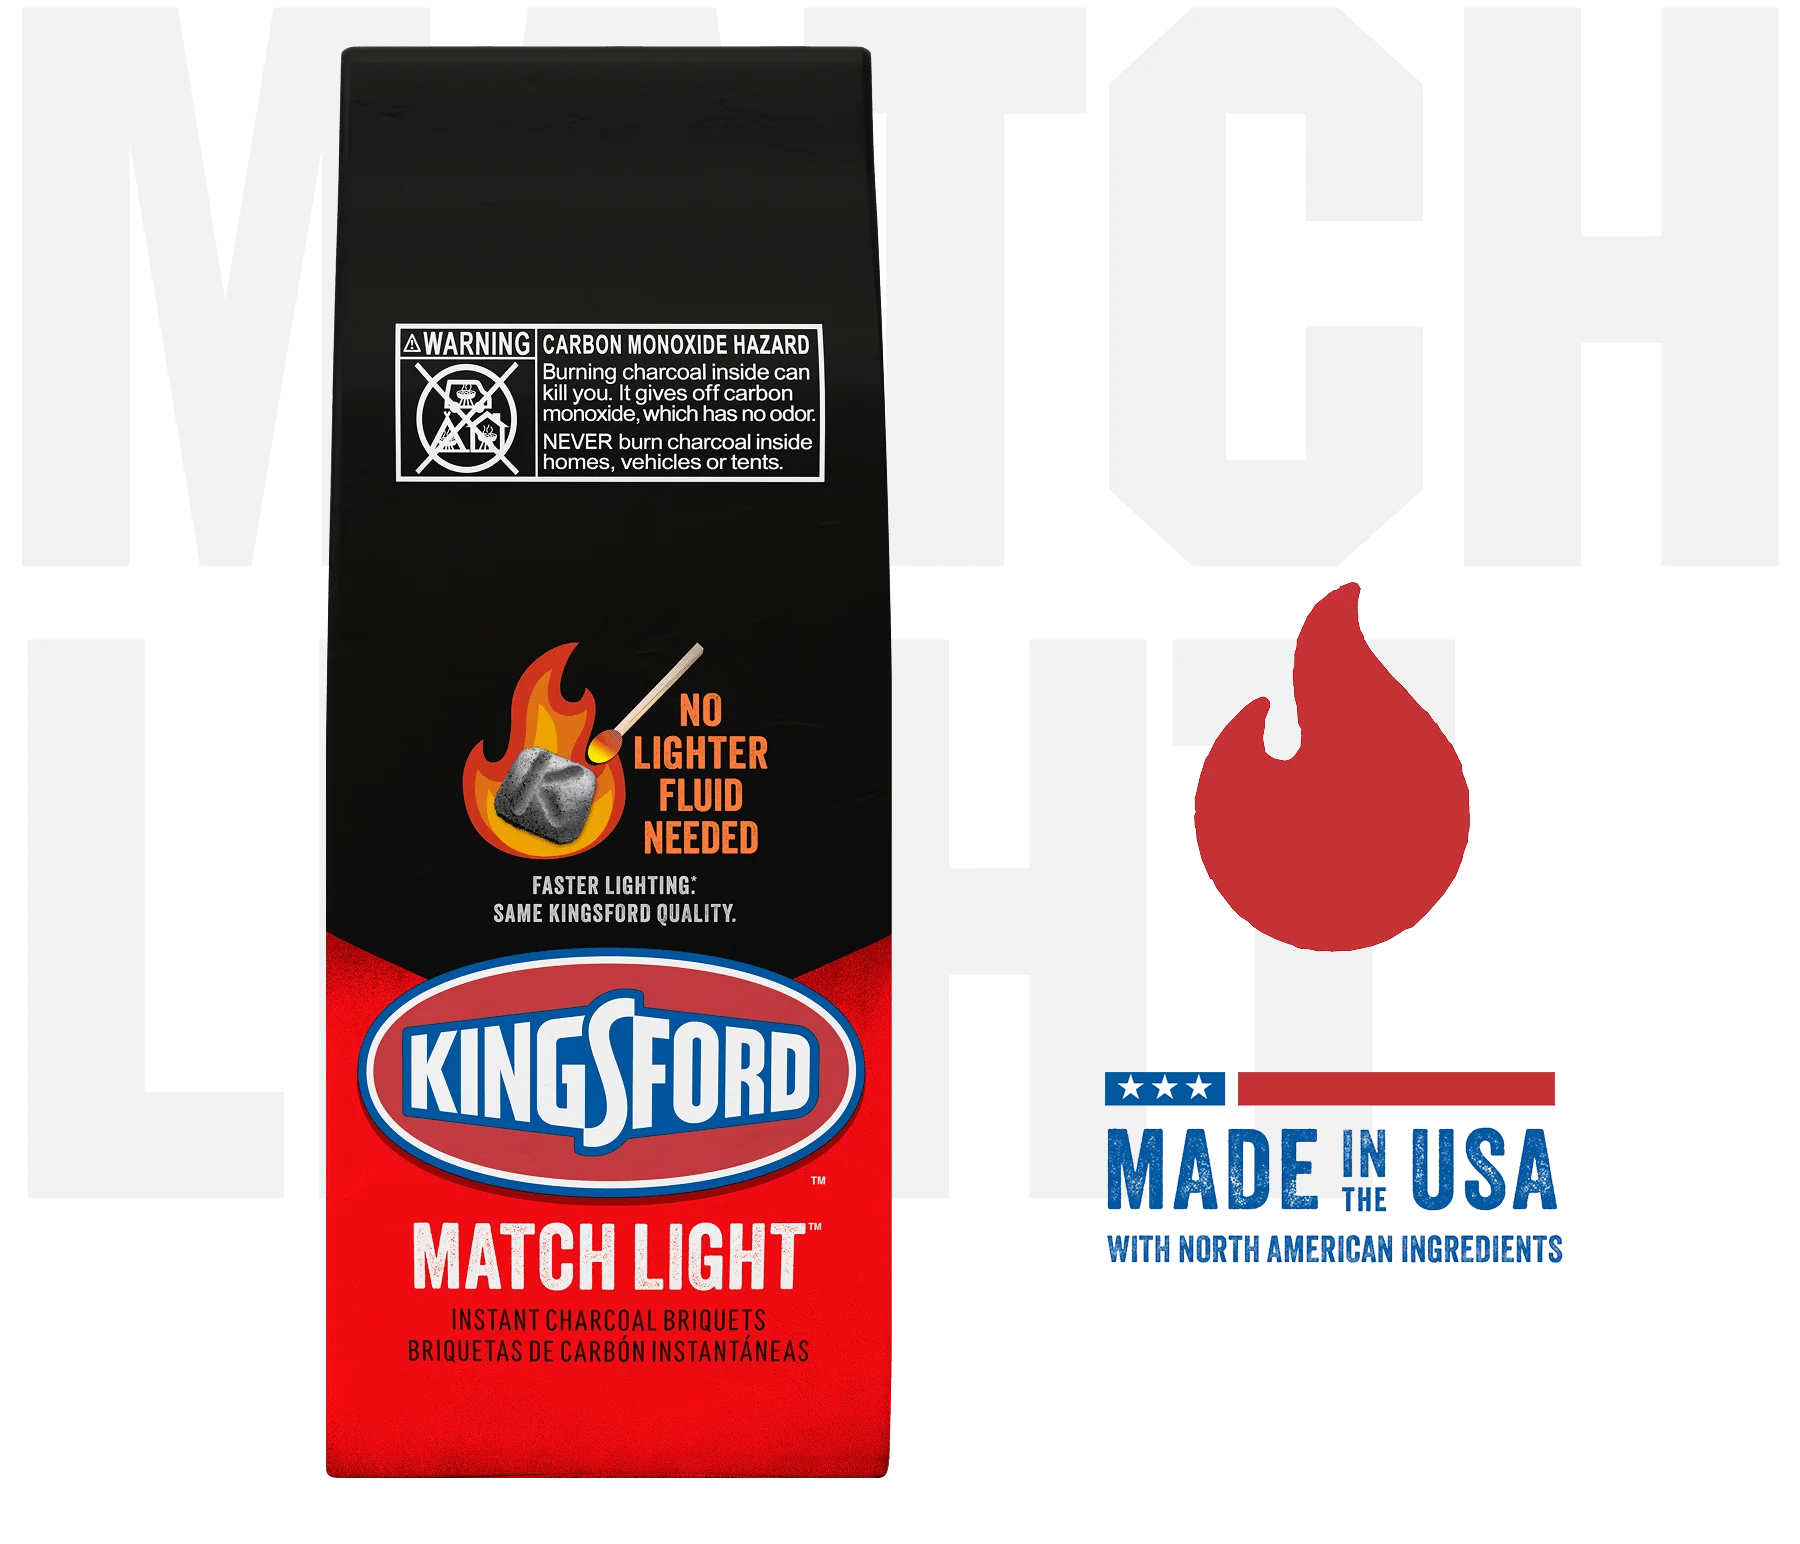
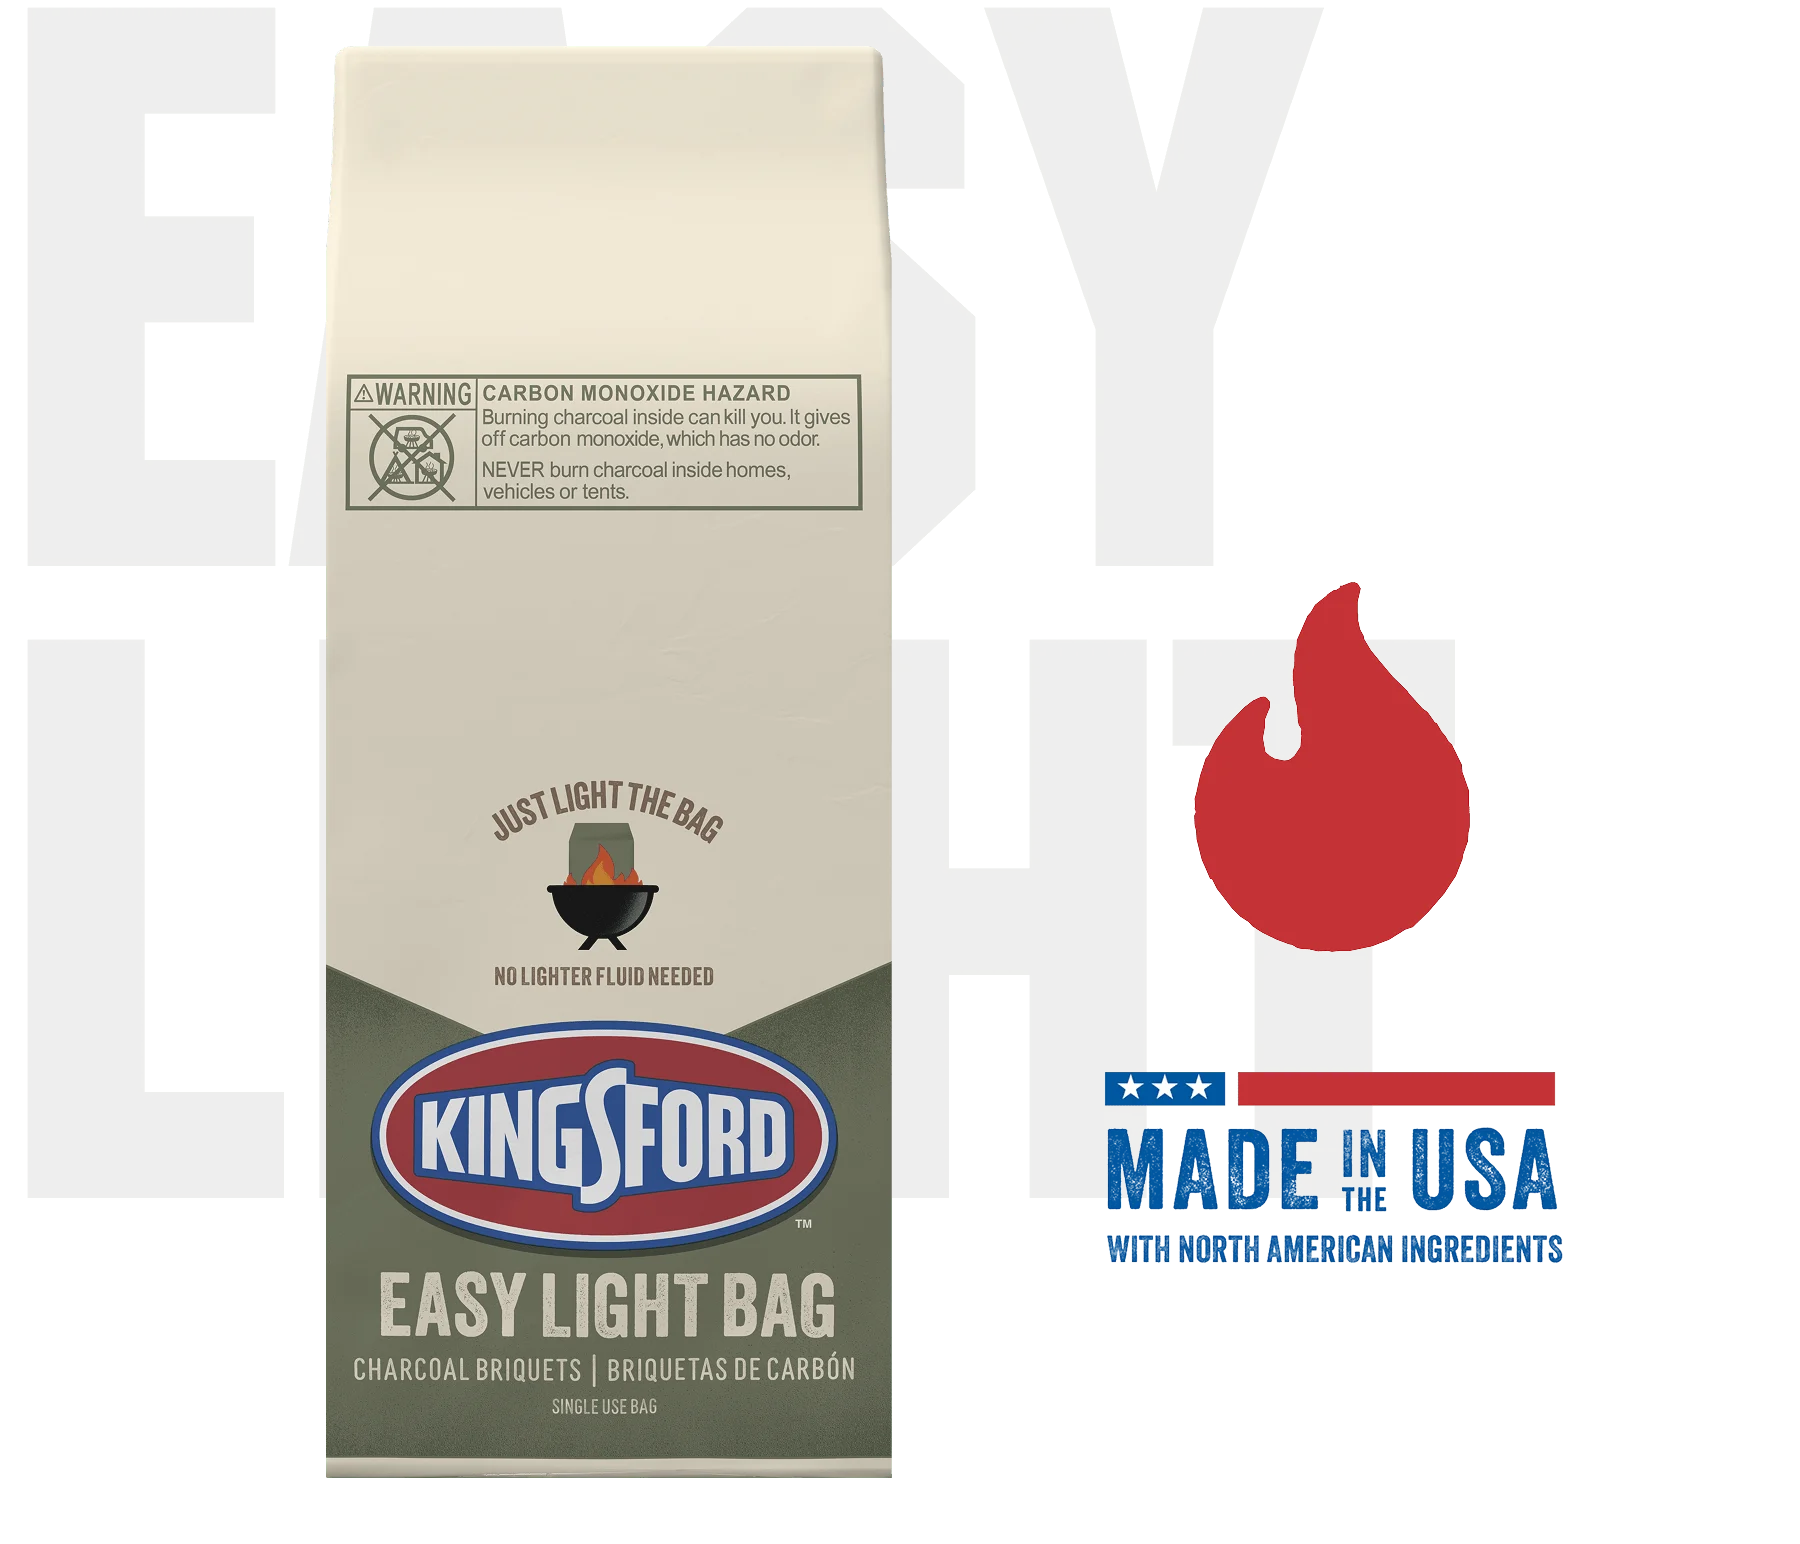
Our charcoal has been proudly made in the USA since 1920. Available in a variety of flavors to give you a delicious, smoky taste for any occasion.


Please enable functional cookies to load the reviews content.